Venturing out into the heart of nature is an exhilarating experience, and a critical part of that journey is learning to pitch your own tent. Perfecting this particular wilderness skill is tantamount to ensuring a comfortable night’s sleep and your safety in the wild. According to this study, with unpredictable weather changes, having a properly set camp can significantly reduce risks related to exposure.
So whether you’re a seasoned explorer or lacing up your boots for the first time, mastering the step-by-step procedure of setting up your camp has never been more important. Are you ready to transform your camping experience into a real Wilderness Warrior? If yes, get ready to dive deep into the art of tent pitching.

Selecting the Perfect Campsite
Choosing where to pitch your tent is paramount before you unfurl a single tent peg or stretch out the canvas. It’s like laying the foundation for a house; getting it right is critical for your outdoor adventure’s comfort, safety, and overall success. But what makes a campsite perfect? Let’s break it down:
- Flat Ground: Your back will thank you for this. Sleeping on a slope can lead to a night of slipping, sliding, and hardly any sleep. Look for a spot that’s as level as possible to ensure your tent stays put and you get a good night’s rest.
- Distance from Large Trees: It might seem counterintuitive—trees offer shade and protection, right? However, setting up camp beneath large trees (especially if they’re isolated) puts you at risk of falling branches and lightning strikes. Opt for safety first and maintain a healthy distance.
- Proximity to Water: Water is life, but too close proximity can lead to trouble. Campsites near water sources offer convenience for cooking and cleaning but remember to set up camp at least 200 feet away to prevent flooding and minimize impact on natural habitats. Plus, it’s a step towards practicing Leave No Trace principles.
- Consider Wind Exposure: A gentle breeze is refreshing, but constant wind can turn your campsite into a less-than-serene place. Identify the wind’s direction and pitch your tent with its back towards it to reduce exposure.
- Sunrise or Sunset? Decide if you want to wake up with the sun or prefer it to be set in front of your tent. This will affect your sleep cycle and your tent’s temperature throughout the day.
Selecting the optimal campsite goes beyond just finding flat ground; it’s about making strategic decisions that enhance your camping experience. This initial step sets the tone for your entire expedition. Remember, a great adventure in the wilderness starts with a wisely chosen campsite. Are you ready to find yours?
Preparing the Site
The real work begins once you’ve zeroed in on the perfect spot to set up camp. Preparing the site isn’t just about clearing a few sticks and stones but creating a solid, safe foundation for your temporary home in the wilderness. Here’s how to do it right:
- Clear the Ground: Begin by removing larger rocks, sticks, and any debris that could puncture your tent or make your sleeping area uncomfortable. Be mindful to disturb the site as little as possible to preserve the natural area.
- Level the Surface: Even if you’ve chosen a flat area, it’s essential to make minor adjustments to ensure the ground is as level as possible. This might mean patting down elevated areas or filling in small dips. The flatter your surface, the better your sleep.
- Consider Drainage: Should it rain, you’ll want water to flow away from your tent, not towards it. If available, position your tent on a slight incline. If you’re particularly skilled, you can create a shallow trench around your tent area for water runoff—but this should be done sparingly and only in areas where it won’t cause erosion or environmental damage.
- Orient According to Wind: Knowing which way the wind blows can be a literal game-changer. Aligning your tent so that the narrow end faces the wind reduces resistance and prevents your tent from becoming a wind trap. This might mean re-positioning your tent as the wind changes, so keep an eye on your surroundings.
- Compact the Ground: Gently walk over the area where you’ll lay your tent to compact the ground slightly. This can help prevent the tent from sinking or becoming uneven as you move around inside.
Proper site preparation is akin to laying the foundations of a house—it’s what keeps the structure stable, dry, and comfortable, no matter what the wilderness throws at you. By following these steps, you’re not just pitching a tent; you’re crafting an outdoor abode that maximizes comfort and minimizes impact on the natural world around you. Now, with your site prepared, you’re ready to move on to the main event: pitching your tent.

Setting Up Your Tent
The wilderness awaits, and your campsite is prepped. Now, it’s time to turn your attention to the main shelter—your tent. Setting it up might seem daunting, but with these step-by-step instructions, you’ll have a cozy abode in no time.
1. Unpack and Organize
Before anything else, carefully unpack your tent and lay out all the components. This includes the tent body, poles, stakes, and the rain fly. Ensuring you have all the pieces before starting is crucial; there’s nothing worse than realizing you’re missing a stake with half-assembled poles in your hands.
2. Assemble Your Tent Poles
Tent poles are the skeleton of your shelter, providing its structure. Start by unfolding each pole and gently snapping the sections into place. Most tents use shock-corded poles that fit easily together, but ensure each segment is securely connected to avoid surprises during setup.
3. Lay Out Your Tent
Find the flattest part of your prepared site and spread out your tent, making sure the door faces in your desired direction. This simple step sets the stage for your home away from home.
4. Attach the Poles to the Tent
Now, take your assembled poles and begin attaching them to the tent body. This usually involves sliding them through fabric sleeves on the tent or hooking them into eyelets at the tent’s base. Make sure each pole is firmly in place—this is what gives your tent its shape and stability.
5. Erect the Tent
With the poles attached, you can now stand the tent up. Lift and spread the poles, raising the tent fabric off the ground. Some tents have poles that cross in the middle; others have a more straightforward design. Either way, adjust until the tent body is taut and upright.
6. Secure with Stakes
Once your tent stands, it’s time to secure it to the ground. Place stakes through the loops at each corner of the tent, pushing them firmly into the soil at a 45-degree angle away from the tent. This ensures your tent won’t take flight with the first gust of wind.
7. Attach the Rainfly
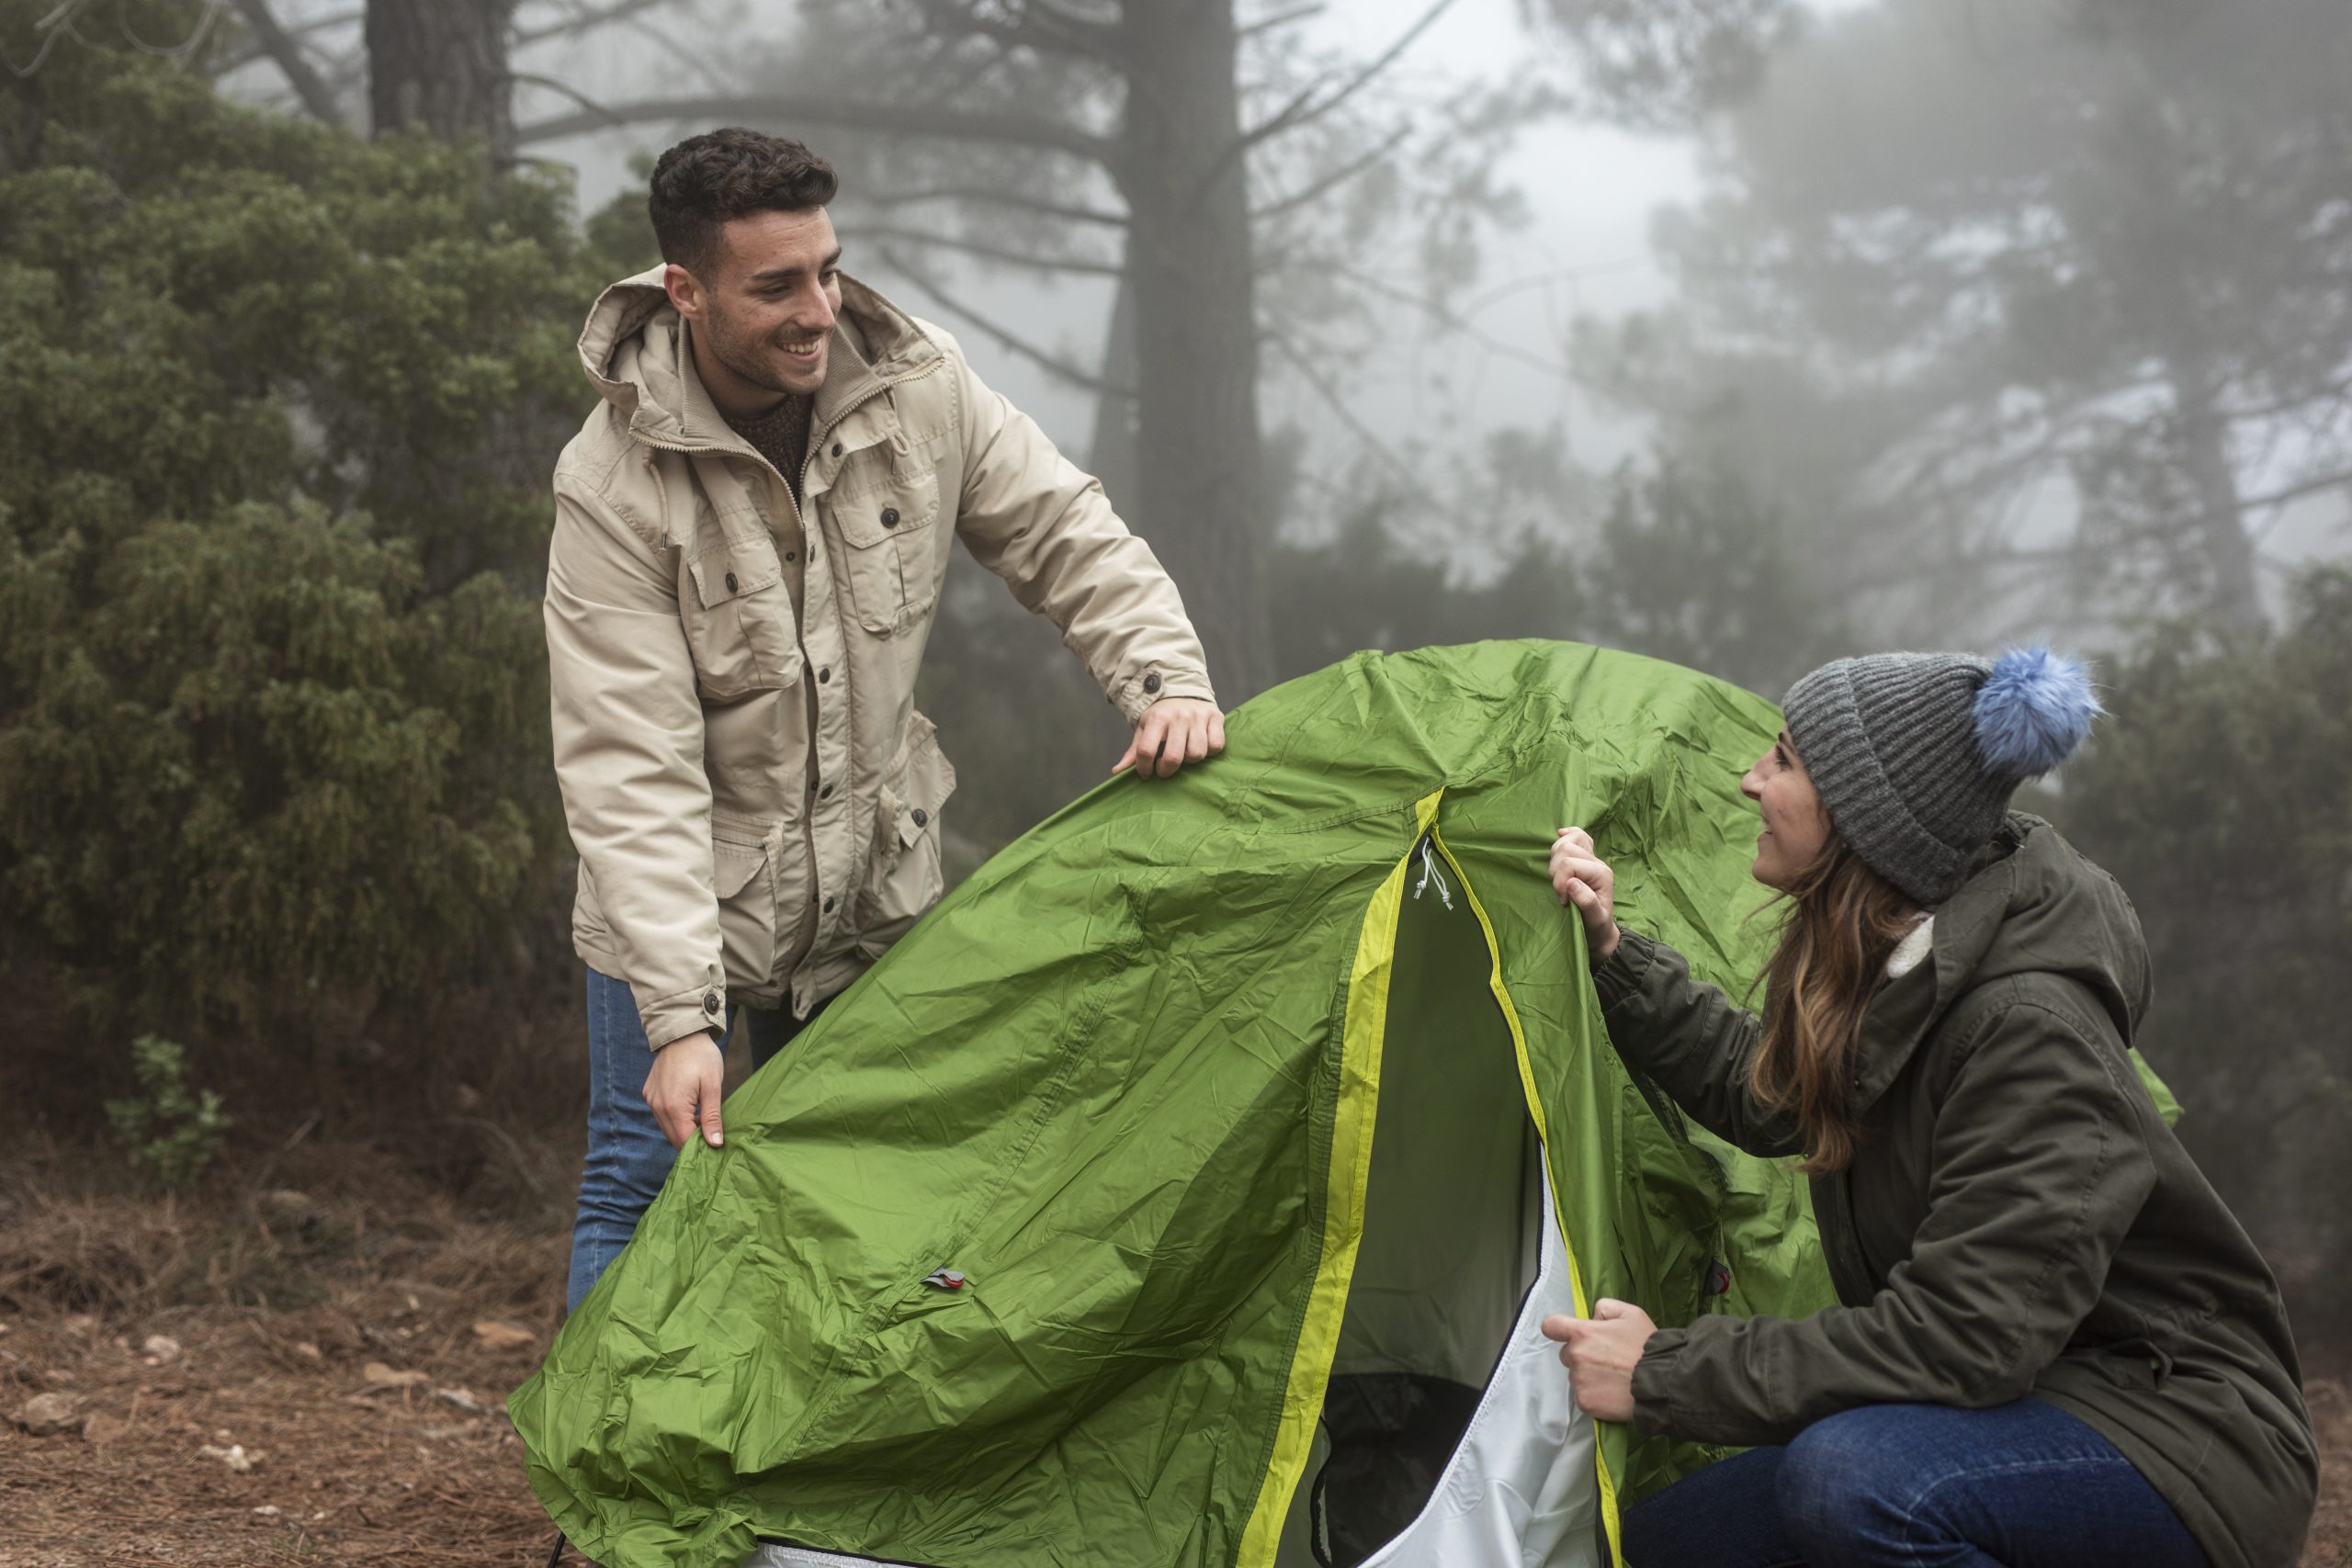
Finally, cover your tent with the rainfly. This extra layer protects against rain and dew, keeping you dry. Secure it over the top, attaching it to the tent poles or clipping it to the tent’s base. Adjust until it’s tight to avoid any water pooling.
Setting up your tent is the first step to a memorable camping experience. With your shelter in place, you’re ready to fully immerse yourself in the wilderness, knowing you have a solid, safe base to return to.
After Setup
Your little slice of outdoor paradise is almost ready with the tent pitched. Before diving into the wild, let’s finesse your setup with some final touches that can turn a good campsite into a great one.
- Final Adjustments: Scan your perimeter. Are the stakes and guy lines holding firm? A stake loosened by wind or an ignored guy line is a missed opportunity for stability. Give them a tug, readjust tension, and secure your stronghold against nature’s whims.
- Inside Arrangements: Step inside your canvas castle. Optimize space by designating areas for sleeping and gear storage. Roll out sleeping pads and bags on the flattest spots. Keep gear organized and accessible—chaos has no place here. It’s not just about comfort; it’s about functionality.
- Environmental Considerations: Now look around. How does your camp meld with Mother Nature? Your presence should be a whisper, not a scar. Respecting the environment means keeping food sealed against curious wildlife and minimizing your footprint. Embrace the Leave No Trace principles: if you brought it in, ensure you can take it out.
The tent is up, the stakes are set, and the inside is arranged. You’ve done more than just pitch a tent—you’ve crafted a harmonious space that’s both a part of the wilderness and a respectful nudge in its vast canvas. Now, step back. It’s time to enjoy the fruits of your labor with stars above and earth below. Here’s to home, sweet temporary home! 🏕️
Congrats, trailblazer, you’re now savvy in the art of pitching a tent. Remember, practice makes perfect—each setup sharpens your skills and deepens your connection with the great outdoors. Embrace each moment, from smoothing the ground to stargazing at night. Go forth and bask in the glory of your newfound haven, and let every camping tale begin with the joy of a well-pitched tent. Happy camping! 🌟


0 Comments